Welcome to my world - dirt, laughter, legos and a whole lotta paper and stamping!
Monday, April 28, 2008
One more for today . . .
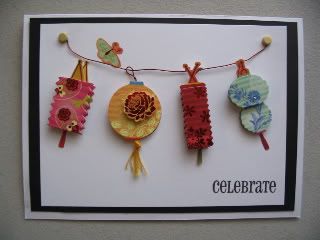
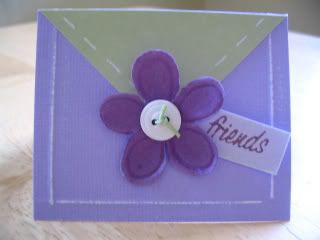
this is a card I made for one of my best friends, Laura. She is FINALLY moving back into her house this weekend (long story!) and I wanted to give her a little card (a bottle of wine will accompany the card!) to celebrate the occasion! I love these little paper lanterns from K&Company:


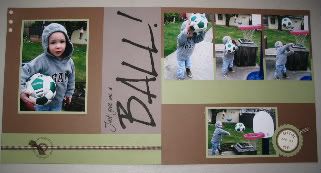
Just Give Me A Ball!
I actually got a layout done! I haven't done any scrapbooking since the crop weekend I went to the first weekend of March! I'm thrilled! And they are photos that I have been wanting to scrap for a long time!
I tried to make it simple . . . just focusing on the adorable photos of my youngest son. I had to almost physically restrain myself from ink distressing the edges of everything! LOL . . . I distress everything and thought I should try to make this a little different!
I tried to make it simple . . . just focusing on the adorable photos of my youngest son. I had to almost physically restrain myself from ink distressing the edges of everything! LOL . . . I distress everything and thought I should try to make this a little different!


Sunday, April 27, 2008
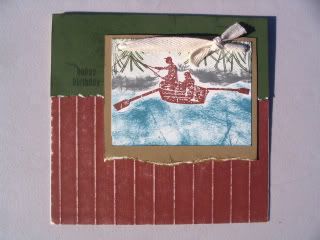
Repost for Korin's Challenge - Masculine Bday Card
Had some play time today . . .
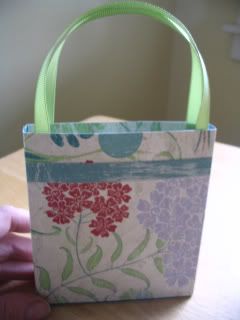
so I made a couple of cards and a cute little bag. Thought the bag would be cute with a pad of paper and a pen in it as a cute little hostess gift . . . although it's not CTMH paper . . .
I went on Paper Crafts website to look around and saw a neat card on their homepage that I thought I would try . . .
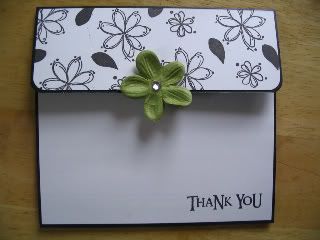
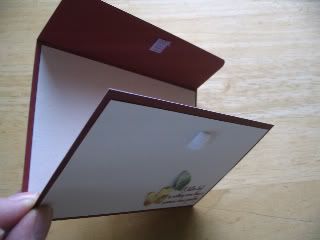
I used little pieces of adhesive velcro to close the card:
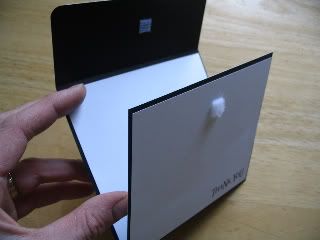
All CTMH products used (except Prima flower): Friendship Blessings and Say It In Style stamp sets.
But after I finished it I thought that maybe there was too much white space on the front . . . so I made a smaller version in autumn colors. I've never been a fan of CTMH's Just Blooms Autumn Leaves . . personally, I think they are too big and the colors and shapes just don't do it for me. Today, I realized . . I could cut them down and make them smaller . . . I like them MUCH MUCH better now . . . I cut 2 different leaves down to put on this card and I'm sure I'll be using them more often now that I found a way to manipulate them to my liking!! :-)
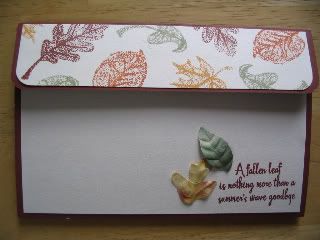
All CTMH products: A Fallen Leaf stamp set, Just Blooms Autumn Leaves.

I went on Paper Crafts website to look around and saw a neat card on their homepage that I thought I would try . . .

I used little pieces of adhesive velcro to close the card:

All CTMH products used (except Prima flower): Friendship Blessings and Say It In Style stamp sets.
But after I finished it I thought that maybe there was too much white space on the front . . . so I made a smaller version in autumn colors. I've never been a fan of CTMH's Just Blooms Autumn Leaves . . personally, I think they are too big and the colors and shapes just don't do it for me. Today, I realized . . I could cut them down and make them smaller . . . I like them MUCH MUCH better now . . . I cut 2 different leaves down to put on this card and I'm sure I'll be using them more often now that I found a way to manipulate them to my liking!! :-)


All CTMH products: A Fallen Leaf stamp set, Just Blooms Autumn Leaves.
Thursday, April 24, 2008
Cards from Scraps
Here are a couple of cards I made today from scraps. Got the inspiration from Kathi . . . she made some great scrap cards and I was inspired to go through my scraps. This is what I came up with:
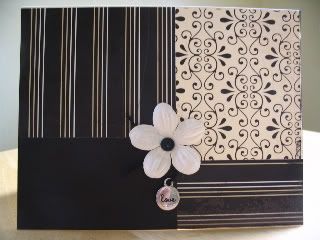
Products used: CTMH Silhouette Creative Basics, Just Blooms White Daisy, Black Hemp, CC Metal Charms
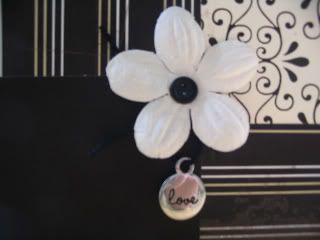
Here's a close up (sorry it's blurry!) of the charm . . these are just so darn cute!
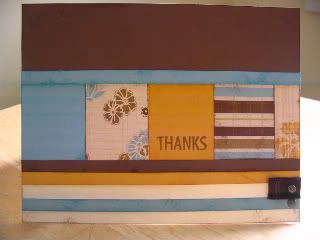
Products used: CTMH Caprice Lv. 2 paper pack, chocolate ribbon, pewter accents, For Every Occasion
Have a scrappy day! ;-)

Products used: CTMH Silhouette Creative Basics, Just Blooms White Daisy, Black Hemp, CC Metal Charms
Here's a close up (sorry it's blurry!) of the charm . . these are just so darn cute!


Products used: CTMH Caprice Lv. 2 paper pack, chocolate ribbon, pewter accents, For Every Occasion
Have a scrappy day! ;-)
Tuesday, April 22, 2008
Cards and purses
Made up some of these adorable K&Co. purses the other day and they are just so adorable I had to show them to you!
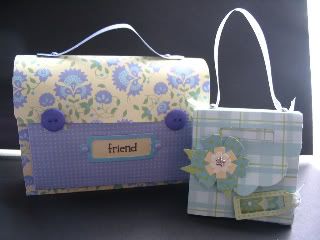
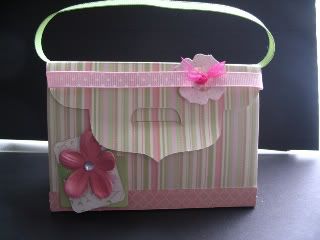
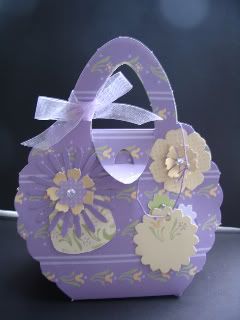
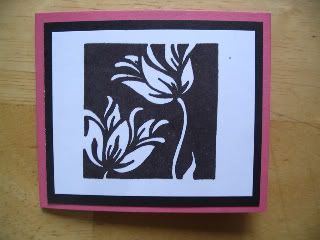
And was trying to come up with 2 cards for a CTMH gathering on Saturday . . . I ended up making 2 different ones (although very similar) with the silhouette because the first one looked so much like the butterfly (Paper Garden) one. Oh, well. . . .not sure if I'll use these or not, but here they are . . .
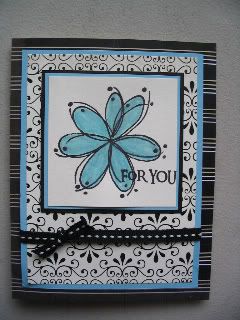
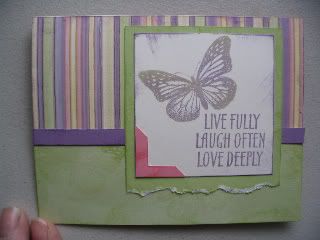
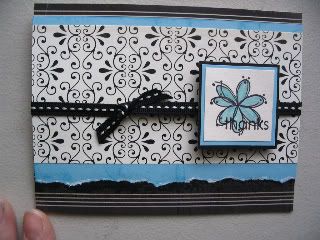


And was trying to come up with 2 cards for a CTMH gathering on Saturday . . . I ended up making 2 different ones (although very similar) with the silhouette because the first one looked so much like the butterfly (Paper Garden) one. Oh, well. . . .not sure if I'll use these or not, but here they are . . .


Sunday, April 20, 2008
Card I made this weekend . . .
This one was cased from Mindy Eggen (CTMH consultant) using our new Boom-di-Ada paper and June SOTM:
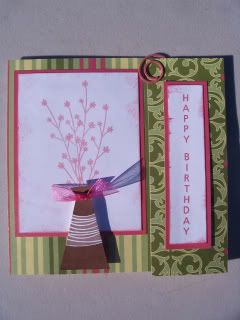
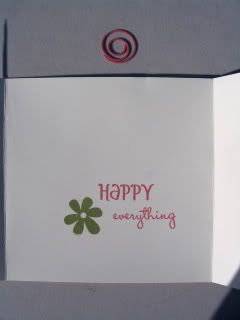
I really like this one . . uses June SOTM:
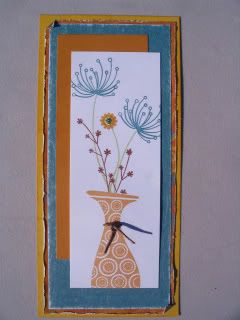
These 2 were made with scraps:
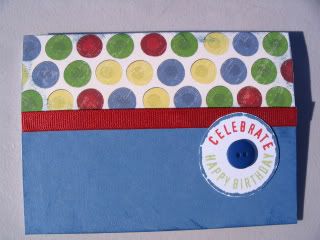
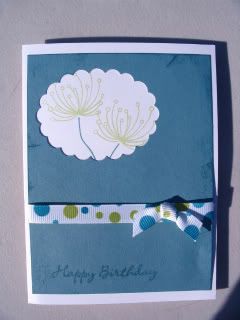
This one was made with some colors I wouldn't normally put together but it started out as a color challenge that I strayed from! I used the July SOTM (Life's a Jungle):
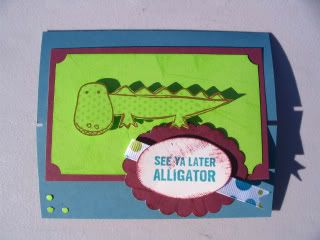
This one was taken from our Summer Idea Book (pg. 84 ) I thought it was so cute I had to try one. The actual size is 3 x 2.5
This one is my favorite. I cased this one from page 59 of the Summer Idea Book for my husband's upcoming birthday:


I really like this one . . uses June SOTM:

These 2 were made with scraps:


This one was made with some colors I wouldn't normally put together but it started out as a color challenge that I strayed from! I used the July SOTM (Life's a Jungle):

This one was taken from our Summer Idea Book (pg. 84 ) I thought it was so cute I had to try one. The actual size is 3 x 2.5

This one is my favorite. I cased this one from page 59 of the Summer Idea Book for my husband's upcoming birthday:


Friday, April 18, 2008
WHEN WILL IT STOP . . . ?
Can you see this . . . . . ??????
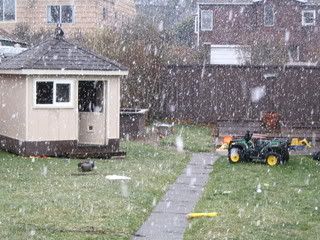
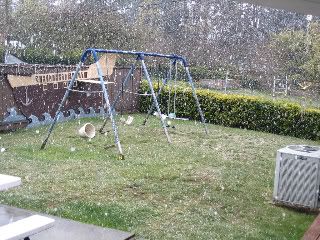
This is what is happening at my house RIGHT NOW! (no, not the chaos in the yard . . . it always looks like that (lol) . . . I'm talking about THE SNOW!)
IT'S APRIL 18 . . . . aaahhhhhhhhhh!
I should have all of my veggies planted by now . . . I should have my flowers planted . . . but NO . . . because it's SNOWING still . . . in APRIL!
I WANT SUMMER (Spring would even be nice!) . . .NO MORE SNOW! acckkkkk!
Chore Chart
I finally got a chance to sit down (over the last couple of nights) and create a chore chart for my oldest son. He is 6 and, although he does help out when asked around the house, I thought it was time to give him some designated chores.
He has been watching the progress of this creation and is actually EXCITED!!! about having a list of chores to do! He was most excited about feeding the cat and making his own bed! Imagine! Let's see how long the excitement lasts when he's actually expected to do the chores . . . lol!!
Josh will get a nickel for every star he completes at the end of the week. If he does everything on the chart, he will get $2 a week. Keep your fingers crossed! ;-)
So, here is the chore chart:
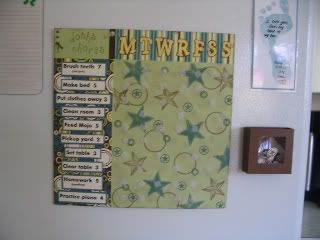
I used adhesive velcro to attach the chore chart to the fridge, to attach the box of stars to the fridge and on the chore chart itself for Josh to attach the stars to the chart as he does his chores. I chose to use velco (because I had a lot left over and) because magnets are always "falling off" (hmmmm . . . ) our fridge!
Here are some other photos (with and without the stars attached)
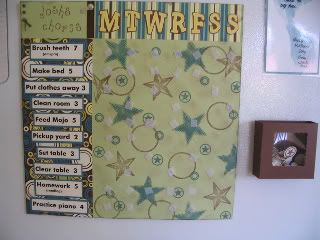

Here's a close up of the chores and the stamping I did on the top corner:
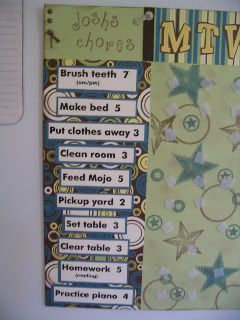
The numbers beside the chore indicate how many days a week he has to do that specific chore. I went ahead and chose the days and just put velcro on those days. For the most part, he gets weekends off! :-) (Thanks, Mom!)
and here are the directions:
1- 12x12 sweet leaf cs
1 - 2x8 patterned paper (top piece)
1- 4x10 patterned paper (side piece)
- Adhere the patterned paper to the top and side of the base cs.
- Ink edges all the way around the 12x12.
- Type list of chores on computer and print directly onto colonial white cs (cut to 8-1/2 x 11) (my list was done in the ScholBroadway font, size 26)
- Cut individual chores out and adhere to twilight cs. Adhere to chore chart.
- Stamp days of the week (initial caps) in buttercup ink onto buttercup cs and cut out (I used Giggle Caps). Adhere to chocolate cs and trim again.
- Adhere days of week initials to top portion of chart.
- Stamp child's name on top left corner and attach embellishments. NOTE: make sure you stamp first before adding any brads . . . the brads may get in the way of the block and affect your ability to stamp a clean image.
- Random stamp stars and circles on main portion of chore chart. I also lightly sponged a little bit of chocolate ink all over the main portion after I did my random stamping.
- Connect the velcro pieces to each other (I left my velcro pieces connected until the end . . it's easier to cut and adhere if you leave them attached to each other!) and cut them into (approximately) 1/2" squares.
- Stamp small stars (I used chocolate and twilight ink) onto colonial white cs and use 3/4" punch to punch each one out.
- Adhere velcro to back of stars (velcro pieces (front and back) are still attached to each other in 1/2" squares now.) NOTE: I wanted the soft part of the velcro to be on the chore chart, so I put the sticky back of the rougher velcro portion on the backs of the stars.
The little box that holds the stars measures 3x3x1. I punched the scalloped square out of the front with my scallop punch and used glue dots to adhere a piece of transparency for a window!
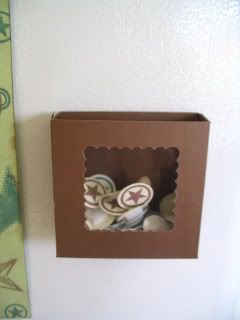
I decided not to draw lines separating the days and chores . . . I figured the velcro pieces would make their own "lines" and it seems to work okay!
If any of you out there have been searching, like I have, for a chore chart, I hope this gives you a place to start in creating your own! I had to think about it for a day . . . make some rough drawings on paper, etc. before I could actually start to create it. But I like the overall end product! I thought about doing magnets instead of the velcro stars, but I'd need a lot of little magnets and, in my house, with my boys, that would just be one more thing to get thrown around and/or lost! So, I'll stick with (no pun intended) the velcro!!
If you have any questions that I didn't already answer above, please post and I'll answer you ASAP! Enjoy!
He has been watching the progress of this creation and is actually EXCITED!!! about having a list of chores to do! He was most excited about feeding the cat and making his own bed! Imagine! Let's see how long the excitement lasts when he's actually expected to do the chores . . . lol!!
Josh will get a nickel for every star he completes at the end of the week. If he does everything on the chart, he will get $2 a week. Keep your fingers crossed! ;-)
So, here is the chore chart:

I used adhesive velcro to attach the chore chart to the fridge, to attach the box of stars to the fridge and on the chore chart itself for Josh to attach the stars to the chart as he does his chores. I chose to use velco (because I had a lot left over and) because magnets are always "falling off" (hmmmm . . . ) our fridge!
Here are some other photos (with and without the stars attached)


Here's a close up of the chores and the stamping I did on the top corner:

The numbers beside the chore indicate how many days a week he has to do that specific chore. I went ahead and chose the days and just put velcro on those days. For the most part, he gets weekends off! :-) (Thanks, Mom!)
and here are the directions:
1- 12x12 sweet leaf cs
1 - 2x8 patterned paper (top piece)
1- 4x10 patterned paper (side piece)
- Adhere the patterned paper to the top and side of the base cs.
- Ink edges all the way around the 12x12.
- Type list of chores on computer and print directly onto colonial white cs (cut to 8-1/2 x 11) (my list was done in the ScholBroadway font, size 26)
- Cut individual chores out and adhere to twilight cs. Adhere to chore chart.
- Stamp days of the week (initial caps) in buttercup ink onto buttercup cs and cut out (I used Giggle Caps). Adhere to chocolate cs and trim again.
- Adhere days of week initials to top portion of chart.
- Stamp child's name on top left corner and attach embellishments. NOTE: make sure you stamp first before adding any brads . . . the brads may get in the way of the block and affect your ability to stamp a clean image.
- Random stamp stars and circles on main portion of chore chart. I also lightly sponged a little bit of chocolate ink all over the main portion after I did my random stamping.
- Connect the velcro pieces to each other (I left my velcro pieces connected until the end . . it's easier to cut and adhere if you leave them attached to each other!) and cut them into (approximately) 1/2" squares.
- Stamp small stars (I used chocolate and twilight ink) onto colonial white cs and use 3/4" punch to punch each one out.
- Adhere velcro to back of stars (velcro pieces (front and back) are still attached to each other in 1/2" squares now.) NOTE: I wanted the soft part of the velcro to be on the chore chart, so I put the sticky back of the rougher velcro portion on the backs of the stars.
The little box that holds the stars measures 3x3x1. I punched the scalloped square out of the front with my scallop punch and used glue dots to adhere a piece of transparency for a window!

I decided not to draw lines separating the days and chores . . . I figured the velcro pieces would make their own "lines" and it seems to work okay!
If any of you out there have been searching, like I have, for a chore chart, I hope this gives you a place to start in creating your own! I had to think about it for a day . . . make some rough drawings on paper, etc. before I could actually start to create it. But I like the overall end product! I thought about doing magnets instead of the velcro stars, but I'd need a lot of little magnets and, in my house, with my boys, that would just be one more thing to get thrown around and/or lost! So, I'll stick with (no pun intended) the velcro!!
If you have any questions that I didn't already answer above, please post and I'll answer you ASAP! Enjoy!
Wednesday, April 16, 2008
Just stamps and ink (mostly!)
I made a few simple cards last night. I just really like the look of simple, clean cards. So I thought I would play around with a few stamp sets and this is what I came up with . . .
Stamps used (all CTMH) are listed below each photo:
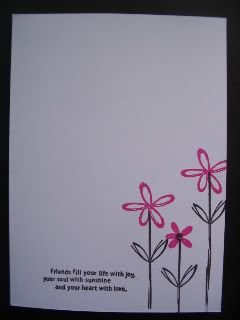
Kindred Spirits (sentiment), Friendship Word Puzzle (flower and stem)
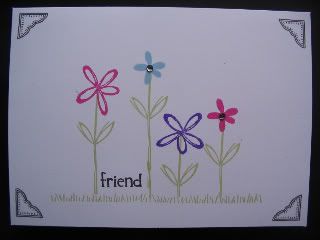
Friendship Word Puzzle (flowers and stems), Kindred Spirits (grass, corners)
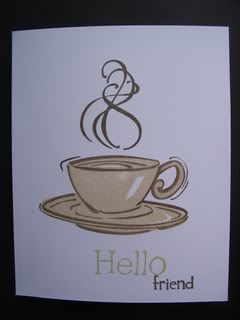
Coffee Shop, For Every Occasion (Hello), Friendship Word Puzzle (friend)
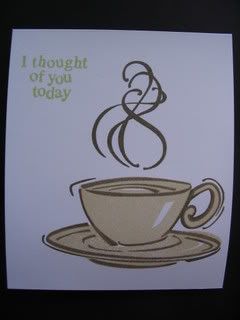
Coffee Shop, Because of You (sentiment)
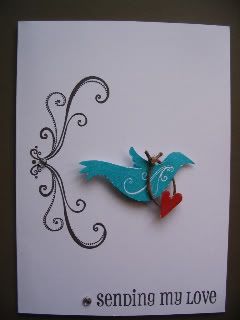
Kindred Spirits (bird), Playful Petals (flourish), Say it in Style (sentiment), Liquid Glass and hemp
Stamps used (all CTMH) are listed below each photo:

Kindred Spirits (sentiment), Friendship Word Puzzle (flower and stem)


Friendship Word Puzzle (flowers and stems), Kindred Spirits (grass, corners)

Coffee Shop, For Every Occasion (Hello), Friendship Word Puzzle (friend)

Coffee Shop, Because of You (sentiment)

Kindred Spirits (bird), Playful Petals (flourish), Say it in Style (sentiment), Liquid Glass and hemp
Friday, April 11, 2008
Some of my scraps put to use . . .
I made a few cards yesterday with scraps . . . I've got to start using more scraps!!
I used some of my new Creative Impressions felt Blossoms & Leaves on this one:
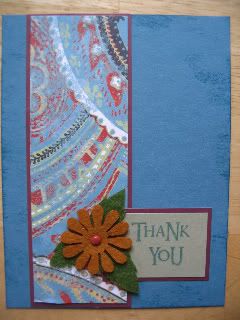
A little Serendipity (CTMH):
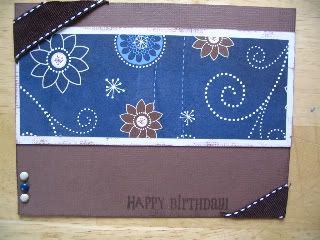
CTMH Blossom Blocks:
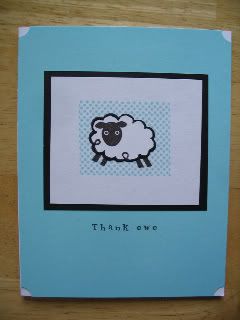
This one I made using my cute little Rubber Soul stamp set I got at my LSS (I copied their example because I thought it was so stinkin' cute!):
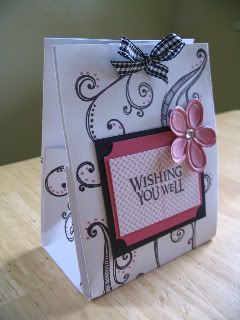
And here's a cute little bag I made from a tutorial on SCS:
 1
1
I used some of my new Creative Impressions felt Blossoms & Leaves on this one:

A little Serendipity (CTMH):

CTMH Blossom Blocks:

This one I made using my cute little Rubber Soul stamp set I got at my LSS (I copied their example because I thought it was so stinkin' cute!):

And here's a cute little bag I made from a tutorial on SCS:
 1
1
In case you were wondering . . .
here are the answers to the scrap scavenger hunt . . .
#1 EK Success Tweezer Bee

#2 Queen & Co. Black Scroll Felt Fusion 4.7 "
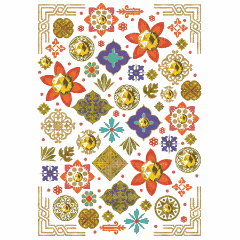
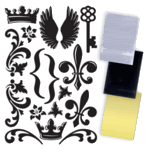
#8 7 Gypsies Victorian Elements Textured Rub-ons
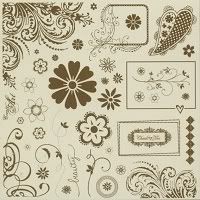
#9 Sweetwater Scrapbooking Doodle Disks - Cotton Candy
THANKS FOR PLAYING ALONG! :-) Good game, everyone!
#1 EK Success Tweezer Bee

#2 Queen & Co. Black Scroll Felt Fusion 4.7 "
#3 Imaginisce Just for Thrill Rub-ons & Rhinestones - Nile Style
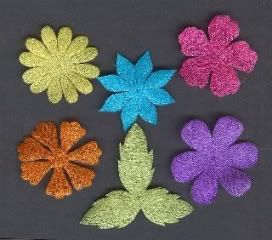
#4 Creative Impressions Blossoms & Leaves Felt Shimmer
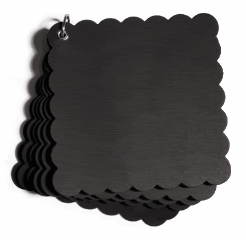
#5 Cosmo Cricket Blackboard Album - Kate's Album
#6 Karen Foster My Garden Bloomin Fancy Brads
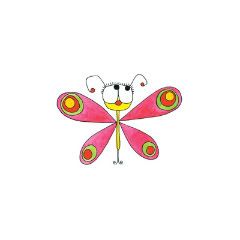
#7 Penny Black Flutterby Rubber Stamp

#8 7 Gypsies Victorian Elements Textured Rub-ons

#9 Sweetwater Scrapbooking Doodle Disks - Cotton Candy
A photo of the adorable Doodle Disks assembled:
#10 Fancy Pants Pollen Dust Acrylic Stamp Set

THANKS FOR PLAYING ALONG! :-) Good game, everyone!
Subscribe to:
Comments (Atom)

